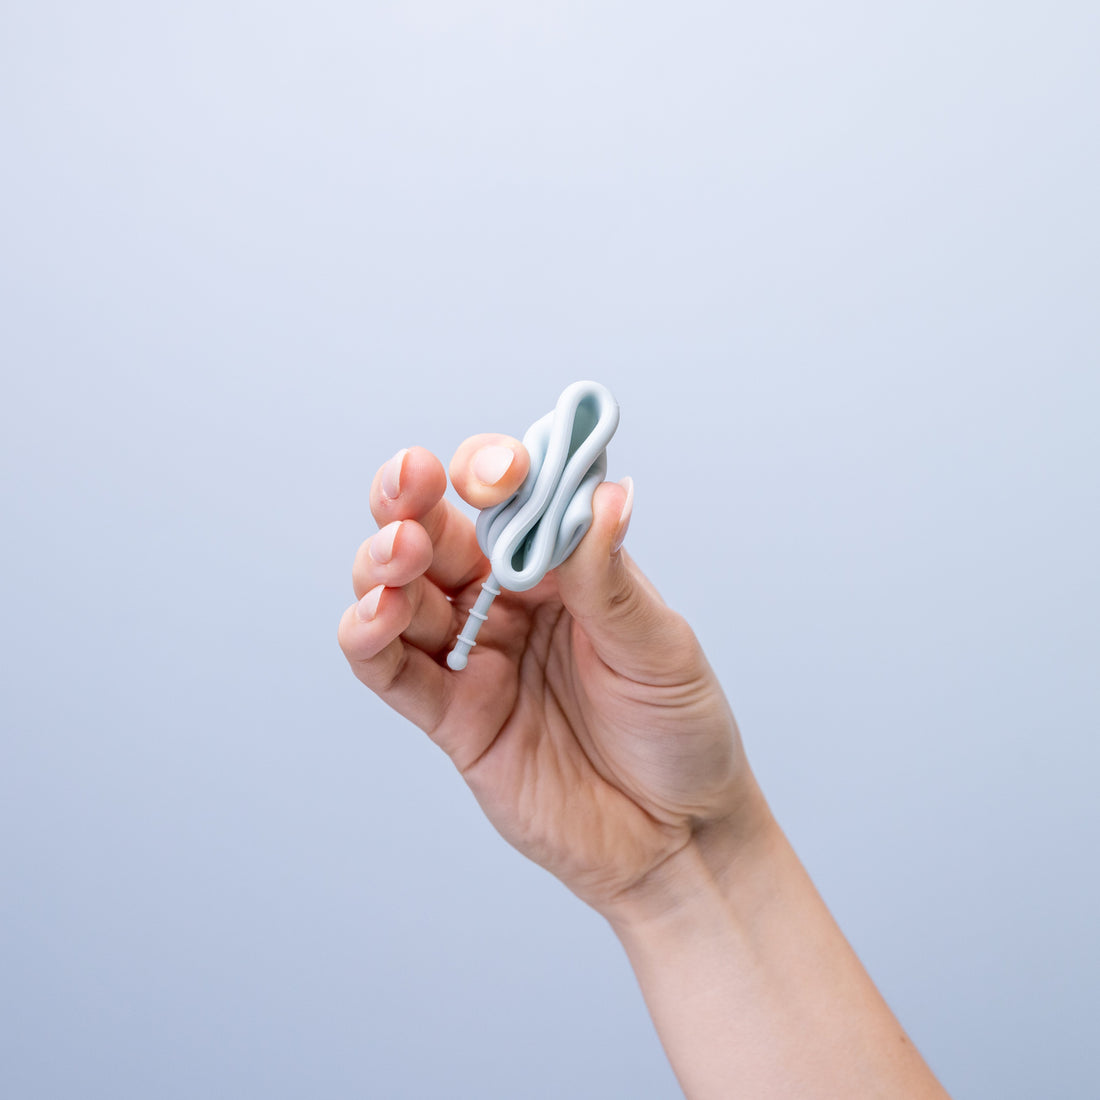
It's all in the fold - 5 types of folds for period cup beginners
Lucy MeacherShare
The key to inserting your period cup is sometimes all to do with the fold you use for a comfortable insertion and wear. For beginners, they can take some time to master as some are fiddlier than others! And because all our bodies are slightly different, some folds are better than others depending on the person. That's why we'd recommend you try these five types of period cup folds to see which one works best for you!
Table of content
Punch-down

Punch-down step-by-step
- Hold your period cup in one hand
- With your other hand, simply 'punch' or 'press' down one side of the cup and fold over before insertion
- With the cup still in your hand, squeeze the sides in to hold the fold together tightly
- Ready to insert!
Pros of the Punch-down fold
- Great for beginners - simple and easiest of the folds to learn and get the hang of
- One of the narrowest entry points compared to other folds
- Comfortable insertion - no pieces sticking out or edges poking you, everything folds inwards
- Easily accessible - the easiest fold to get to grips with especially whilst starting out with your cup!
Cons and watch-outs with the Punch-down fold
- The wider mid-point on insertion may be a bit large and uncomfortable for some users
- Double check your cup has created a seal when inserted. You can test this by lightly tugging at the stem or running your finger around the rim when inserted.
C-fold

C-fold step-by-step
- Hold your period cup in one hand
- With your other hand, begin to fold the cup in half until it forms a "C" or "U" shape
- Squeeze the cup tightly in one hand to keep it in the "C" shape
- Ready to insert!
Pros of the C-fold
- Great for beginners - simply fold the cup in half until it forms a "C" or "U" shape
- A wider insertion point might make it easier for smoother insertion
Cons and watch-outs with the C-fold
- To keep the fold nice and tight, you need to pinch the sides together once folded, which could be fiddly for some
- The wider insertion point might be uncomfortable for some, so we would recommend opting for a fold with a narrower insertion point
Double-diamond Fold

Diamond fold step-by-step
- Hold your period cup with two hands
- With your bottom fingers, pinch the bottom of the cup towards yourself, and at the same time, push the rim together so your thumbs meet in the middle
- Continue with these two motions until the cup is flattened, and then fold the cup inwards to create and hold the fold
- Ready to insert!
Pros of the Diamond fold
- Probably the most compact fold with the most narrow insertion point, great for if you've found inserting your period cup to be uncomfortable
- Provides a secure and effective seal for when inserted
Cons and watch-outs with the Diamond fold
- In our opinion, this is the most tricky, fiddly fold, so may take some time and attempts to master
- Can be difficult to keep the shape of the fold while its being inserted
7-fold

7-fold step-by-step
- Hold your cup with two hands
- Begin to fold the cup in half, similar to the C-fold
- Instead of forming a direct "C" shape, fold diagonally towards the base of the cup and form a "7" shape. Squeeze tightly with one hand
- Ready to insert!
Pros of the 7-fold
- Easy to learn and remember - similar to the C-fold, simply make a "C" shape but instead, pull it down diagonally to the base, to form a "7" shape
- Ensures a tight, snug, fit and less chance of leakages
Cons and watch-outs with the 7-fold
- Can be a tricky one to hold in one hand whilst inserting
- Takes a bit of time to master the angle of the "7" and smoothly inserting
Origami fold

Origami fold step-by-sep
- Hold your cup in two hands
- With one hand, push/pinch the rim inwards, and with the other hand, fold the other side of the cup over and inwards, overlapping the other side
- Squeeze the fold so it stays nice, tight, and compact
- Ready to insert!
Pros of the Origami fold
- A great fold for experienced users as it takes some practice to master
- Provides a tight seal so prevents any leakages if correctly inserted
Cons and watch-outs with the Origami fold
- One of the slightly more complex folds so takes some time to get the knack of
- Can sometimes be difficult to keep in place/keep the fold's shape when inserting
Have any further questions about the different folds for your period cup? Head to our FAQs or our TikTok or Instagram for more information and advice!
What we've been talking about recently...


